As the end of the pool season comes, you can decide whether to drain the pool water and disassemble and store the pool, or leave it assembled and follow the ‘winterisation’ instructions below.
Leaving the pool assembled for the winter season will save water, reduce the risk of damage to the pool lining during disassembly, and prevent the ice from damaging the pool and its accessories. Disassembly and storage will offer free space for something else.
Winterisation of an assembled pool
1.) Thoroughly filter and clean the water so that the pool water is clean. Balance the water parameters with pool chemicals (test with test strips).
2.) Disconnect and drain the filtration system, remove the hoses, ladder, and all accessories. When the temperature drops below 0 °C, store these properly to prevent the ice from damaging the filter pump and accessories.
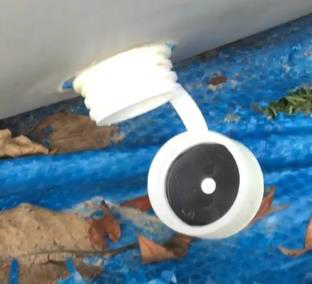
3.) Remove all accessories (such as skimmer, sprayer) attached to the strainer connectors. Before storing, make sure that all accessory parts are clean and completely dry.
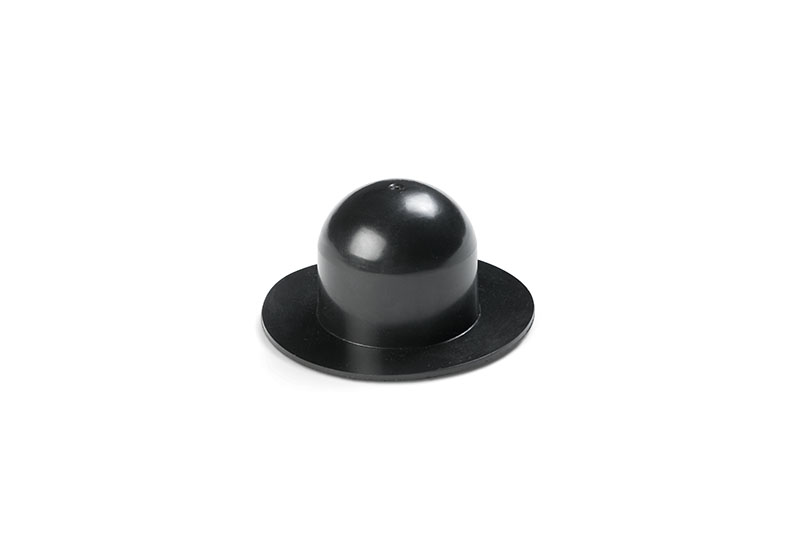
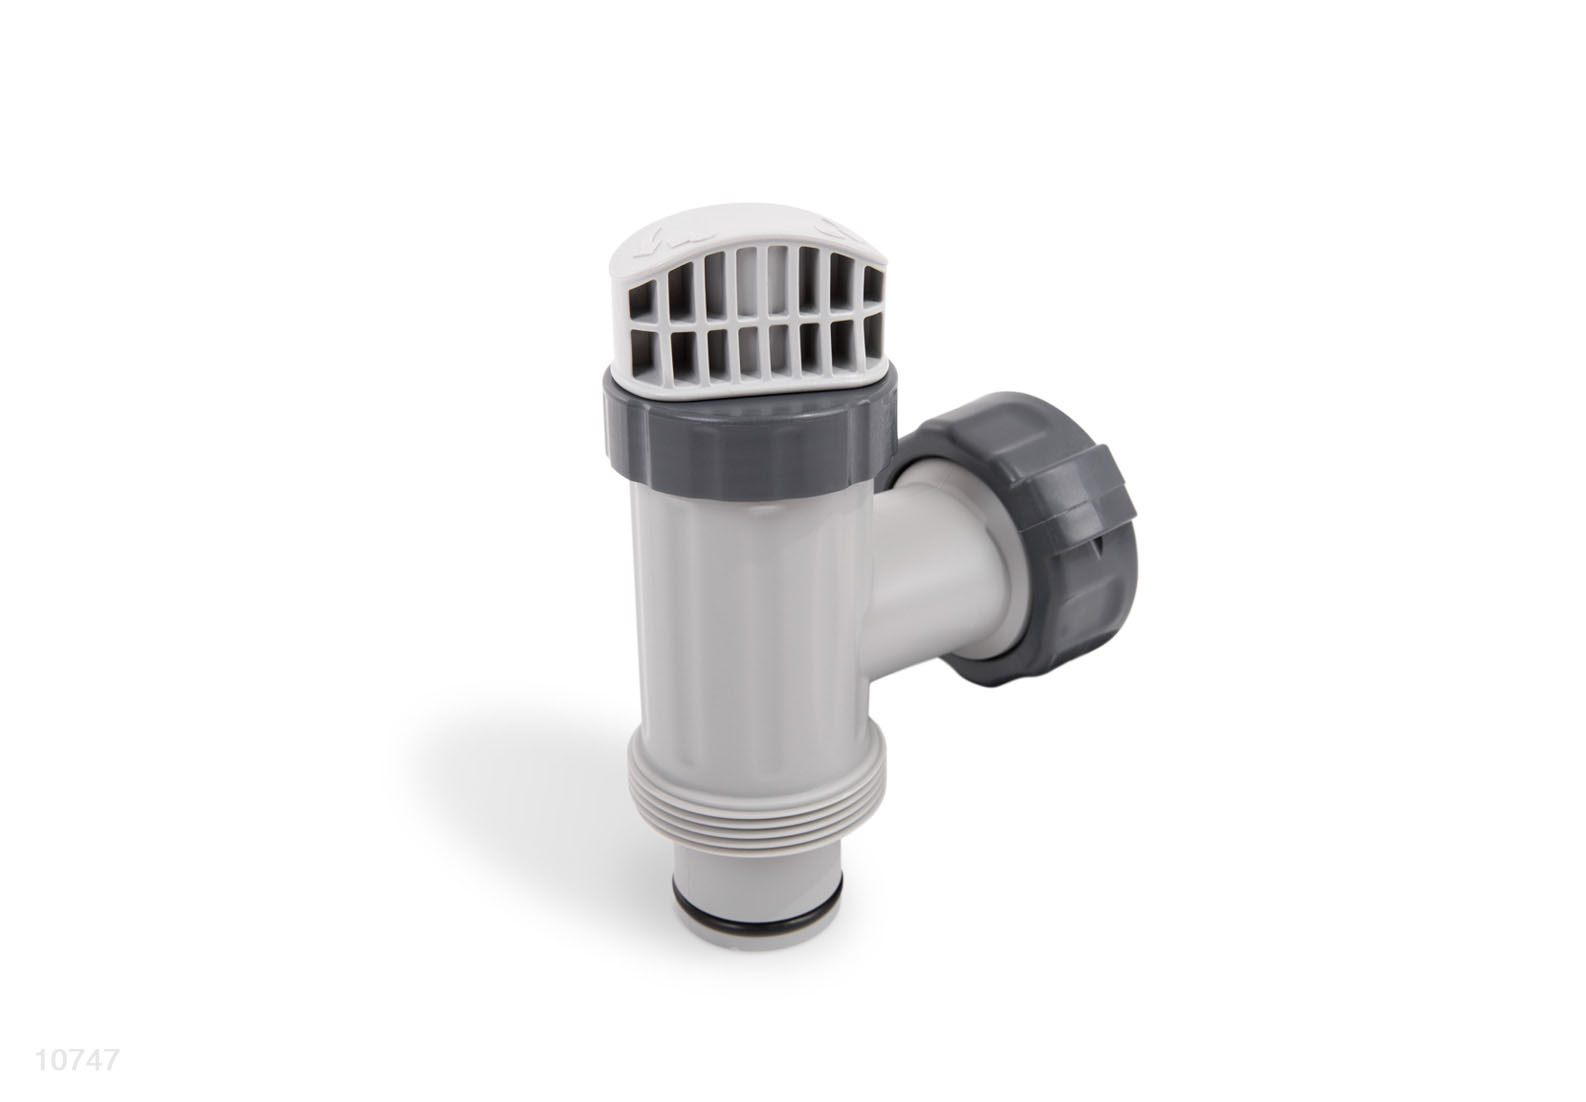
4.) For INTEX pools with strainer connectors for hoses with a diameter of 32 mm, insert the supplied plugs into the wall inlets from the inside of the pool. For INTEX pools with strainer connectors for hoses with a diameter of 38 mm, close the plunger valves on the outer side of the pool.
5.) Add the suitable winterisation chemicals. The suitability of winterisation chemicals may vary according to the manufacturer of the specific chemical. Contact your pool chemicals dealer if necessary.
6.) Cover the pool with an INTEX pool cover. Put something like an inflated air bag in the water before covering the pool. Objects containing air in the pool help to relieve the pressure applied by the snow on the surface of the cover.
ATTENTION: THE POOL COVER DOES NOT REPLACE A SAFETY POOL COVER.
7.) Drain all water from the entire filter pump and hoses and clean them. Remove and dispose of the old filter media (sand, cartridge, balls). Always have new media available for the next season.
8.) Take the filter pump and accessories indoors and store them in a safe and dry place with temperature above 0 °C.
ATTENTION: THE POOL LINER MAY STIFFEN WHEN THE TEMPERATURE DROPS BELOW 0 °C. IN SUCH A CASE, NEVER HIT, BUMP, OR DEFORM THE POOL LINER.
Getting a disassembled pool ready for winter
1.) Read all the local regulations and special regulations regarding draining pool water. It is not recommended to drain pool water on the lawn. Substances such as chlorine, salt, or other pool chemicals are not good for the lawn. Drain the pool water into a cesspool or sewer.
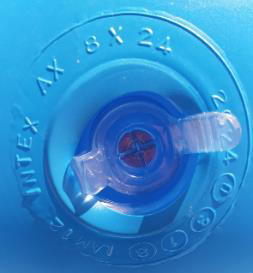
2.) Make sure that the rubber plug on the drain valve on the inner wall of the pool is correctly positioned, i.e. that the drain valve is sealed on the inside using the rubber plug.
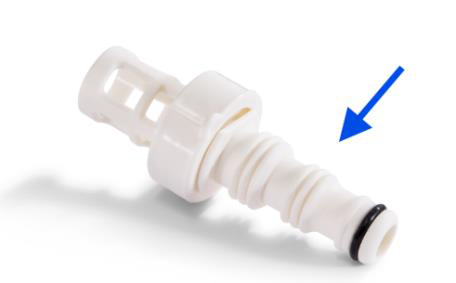
3.) Connect the threaded end of a garden hose to the drain connector (adaptor).
4.) Place the other end of the hose somewhere you can safely and properly drain the water. As a precaution, discharge the water away from the house and other structures.
5.) Unscrew the cap from the drain valve on the outside of the pool.
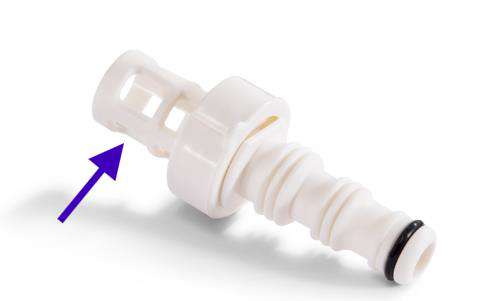
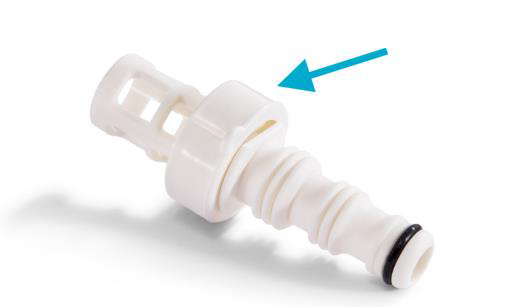
6.) Place the drain connector (adapter)
into the drain valve and then screw it in
right away.
Important note: The connector pushes/opens the rubber plug inside the pool, thus opening the drain valve, and the water starts flowing out immediately. Immediately screw in the thread on the drain plug.
7.) Once the water has stopped flowing from the pool, start lifting the pool on the side opposite to the drain valve so that the remaining water gets to the valve and empties the pool completely.
8.) Unscrew/disconnect the hose and the connector (adapter) when the draining is completed.
9.) Put the rubber plug (from the inside) back in the drain valve before storing.
10.) Screw the cap back on the outlet valve from the outside.
11.) To disassemble the pool, proceed as described in the assembly instructions, but in reverse order. Remove any parts that are attached to the pool.
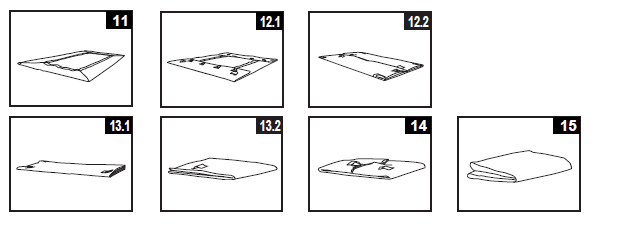
12.) Make sure the pool and all its components are completely dry before storing it. Allow the pool to dry in the sun for about an hour before folding it (see Fig. 11). It is important that the PVC is soft and dry. Dust the pool with cosmetic powder (or talcum powder) so that the pool walls do not stick together during storage and so that the powder absorbs any remaining moisture.
13.) Fold the pool into a square. Starting on one side, bend one-sixth of the pool lining over twice to its inner side. Do the same on the other side (see Figs. 12.1 & 12.2). Avoid forming sharp folds.
14.) Once you folded two opposite sides, simply fold one side over the other as if closing a book (see Figs. 13.1 & 13.2).
15.) Fold the two long ends towards the middle (see Fig. 14).
16.) Fold one end over the other as if closing a book and carefully squeeze the pool cover (see Fig. 15).
17.) Store the empty pool safely so that no water or moisture can get inside. Store the pool lining and accessories in a dry place at a temperature between +1 and +40 °C.
18.) The original cardboard box can be used for storage.
If the product is not stored in accordance with the instructions above, the following problems may occur:
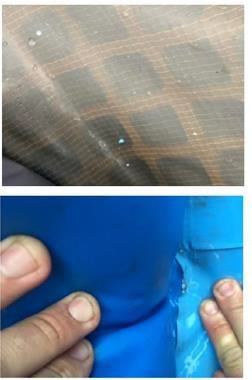
Small holes
These are caused by growing microorganisms and moulds in a moist environment. Make sure to always store the pool cover completely dry and without any signs of moisture.
Loose seams / holes
This can occur if the seams are not covered with body powder (talc) before storage. The seams may also become loose due to the presence of microorganisms if the sheet is not perfectly dried before storage.